Team apps
It is convenient for teams to have the possibility to share the applications they upload with all their teammates. In this case, the team will save time as there is no need to upload files for every team member.
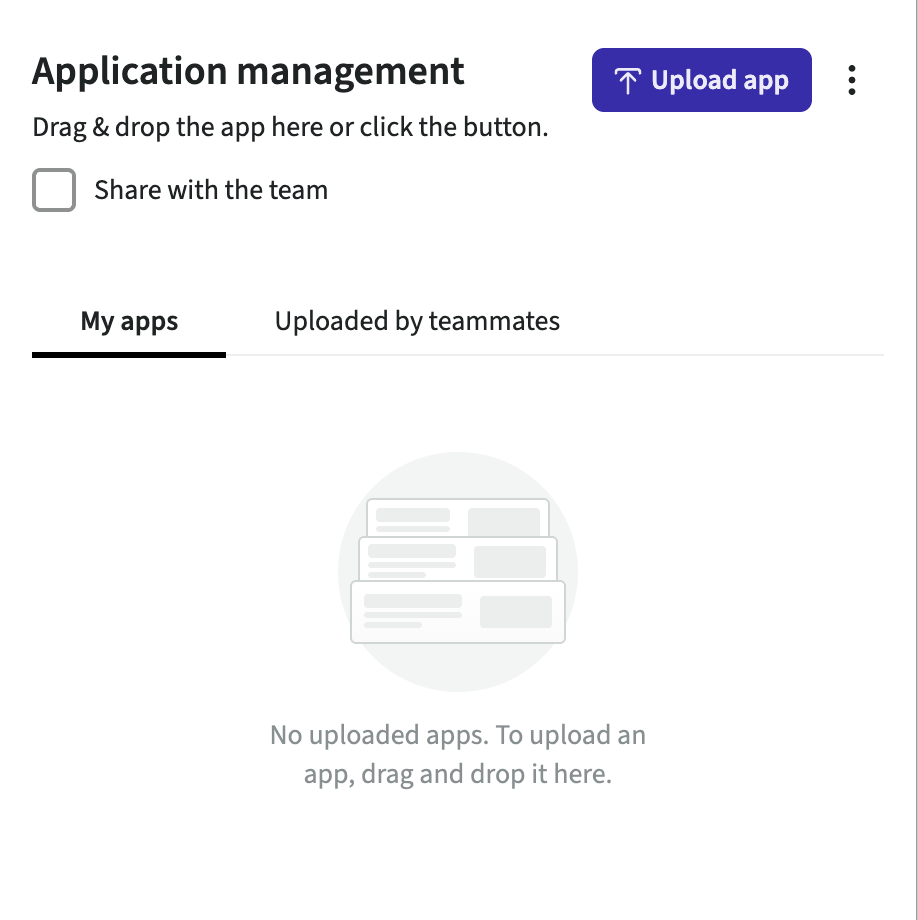
Application management tab
You will see the Application management tab in its empty state if you do not have your own applications or your teammates have not shared their builds.

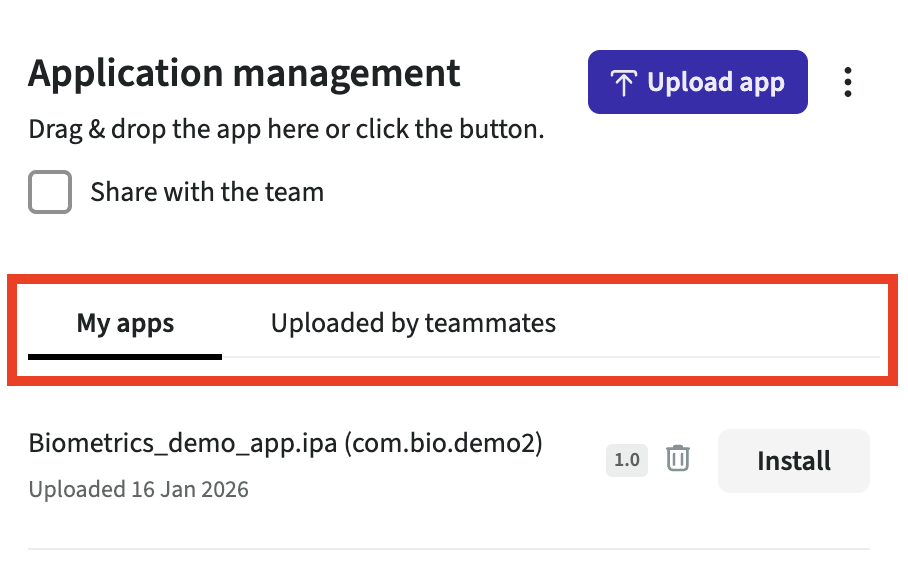
You will have two tabs as soon as an application has been uploaded or shared: My apps and Uploaded by teammates.

Share with the team checkbox
Before choosing a file to upload, you need to decide whether you want to share it with your team or it should be a private file. Pay attention to the Share with the team checkbox that can have one of the states:
- Unchecked. It is a default state. If the checkbox is not chosen, the uploaded file will be only yours.
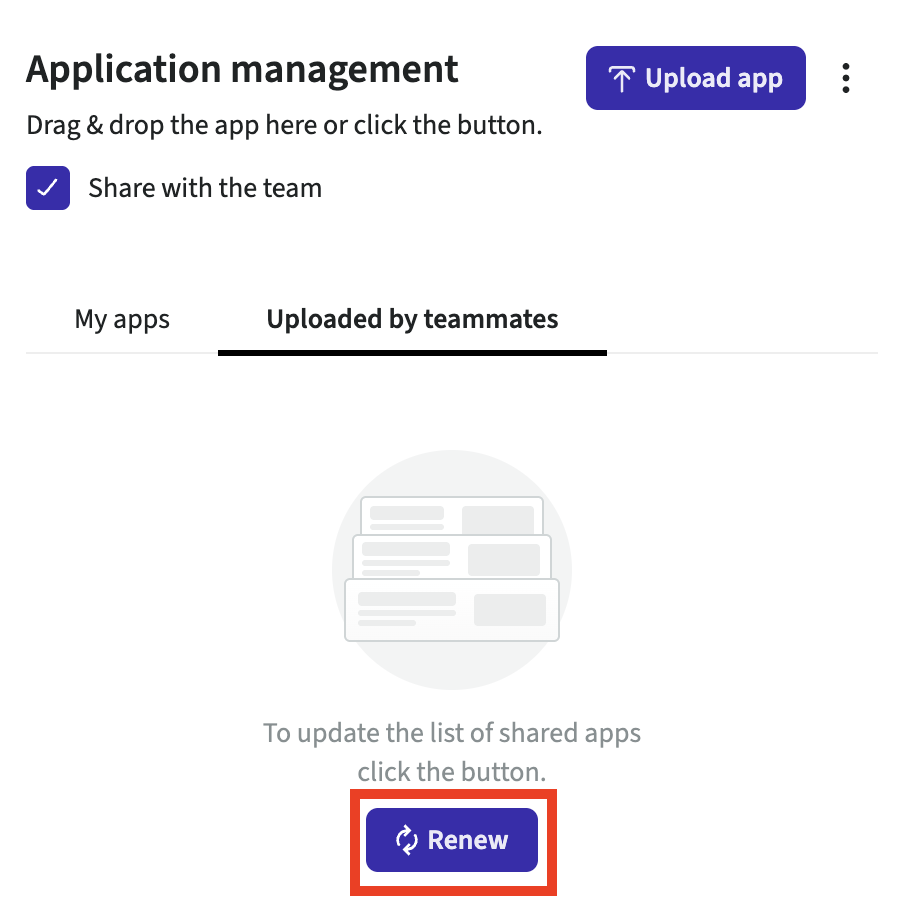
- Checked. If the checkbox is chosen, all the apps you upload will be shared with the team.

Steps to upload and share
You should follow the steps to upload and share an application with your teammates:
- Open the Application management tab.
- Tick or untick the Share with the team checkbox.
- Click on the Upload app button.
- Choose a file.
- Confirm uploading.
Instead of the Upload app button, you can drag and drop a file to the Application management tab area.
Shared label
If you have shared an application with the teammates, the application will have a Shared label. The application will remain in the My apps tab for you.

Renew button
To see the up-to-date list of shared applications, you need to click on the Renew button.

Shared apps removing
The following people can remove applications from the Uploaded by teammates tab:
- A person who uploaded the app.
- Team manager.
You can check who is managing the team in this way: click on your team name in the top right corner -> Choose Team -> Check the Role column.
All other people will not have the Remove button in the tab.