Remote debugging start
After installing and opening Mobitru Connect, you should follow the steps to start the Remote debugging feature:
- Check Android and/or iOS icons in the top right corner.
They should be green. If no, hover over the icon to see the instructions. When all from your side, restart Mobitru Connect.
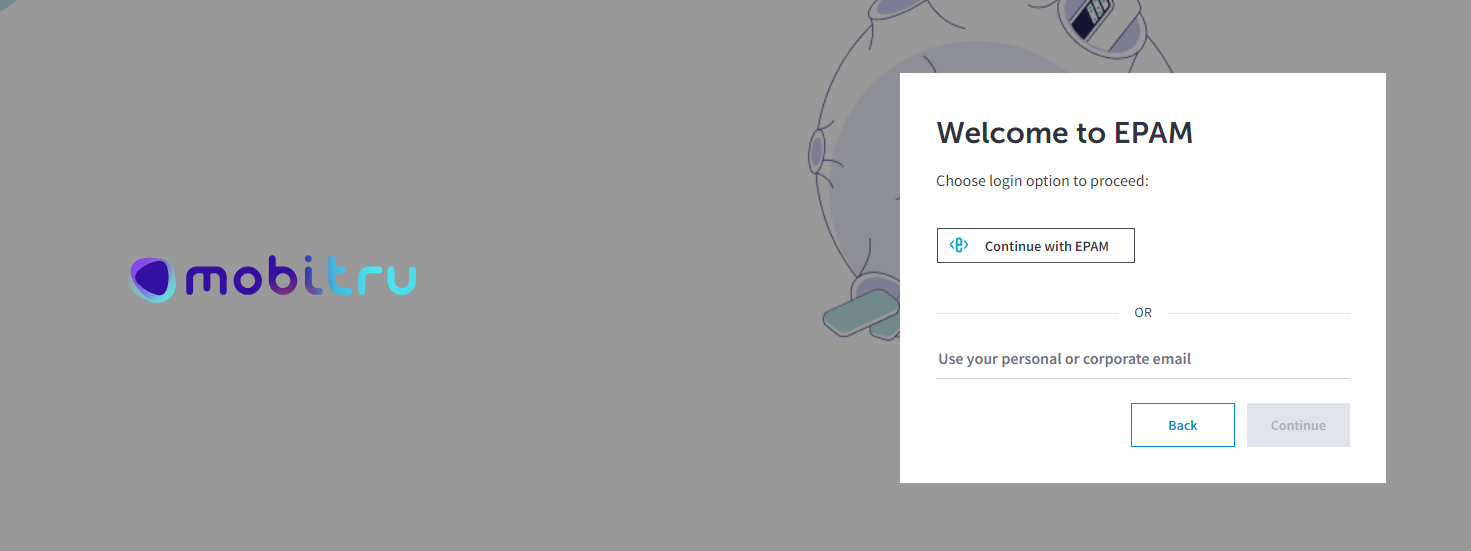
- Log in to the platform.
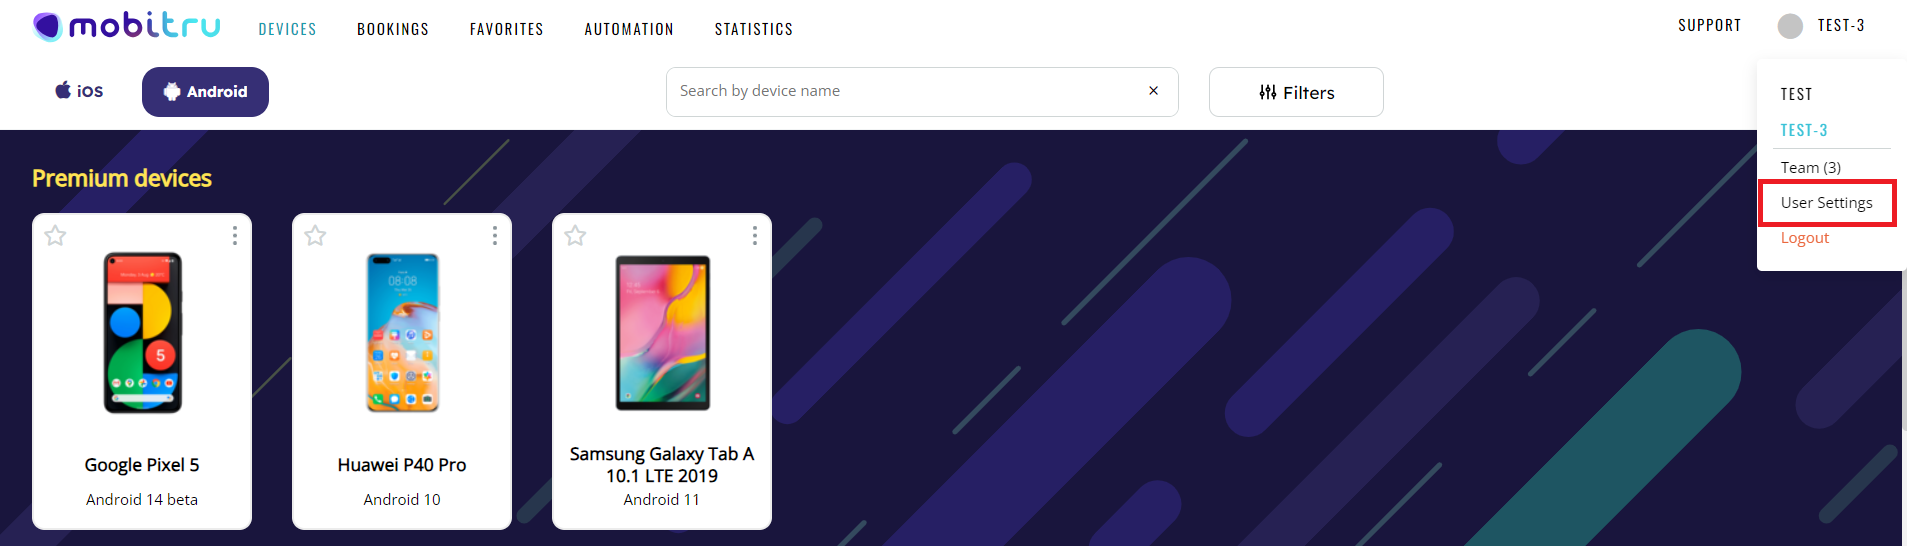
- Go to Account menu –> User Settings.
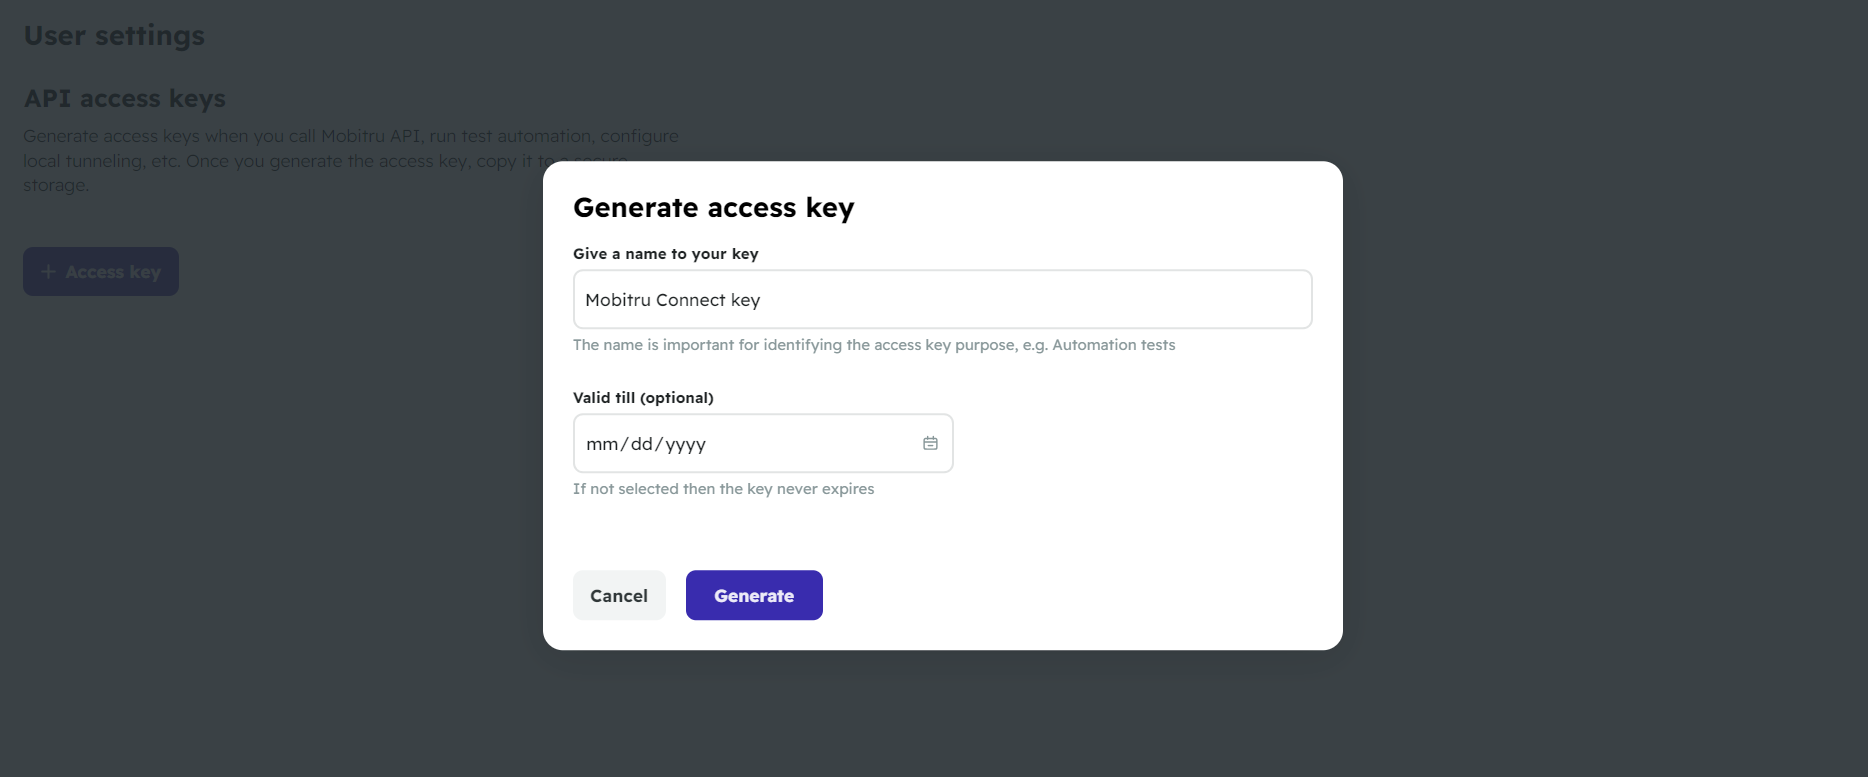
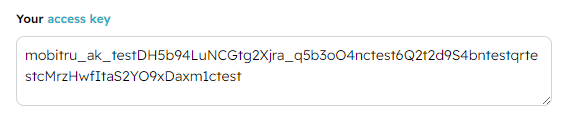
- Generate and copy an Access key.
The key should be saved in a secure storage as it is not saved after closing Mobitru Connect.
- Paste the copied value into your access key in Mobitru Connect.
- Leave “app.mobitru.com” in Mobitru hostname.

- Uncheck the “Auto-connect to local tunnel” option
- Click the Connect button and wait for the Devices list screen to be displayed
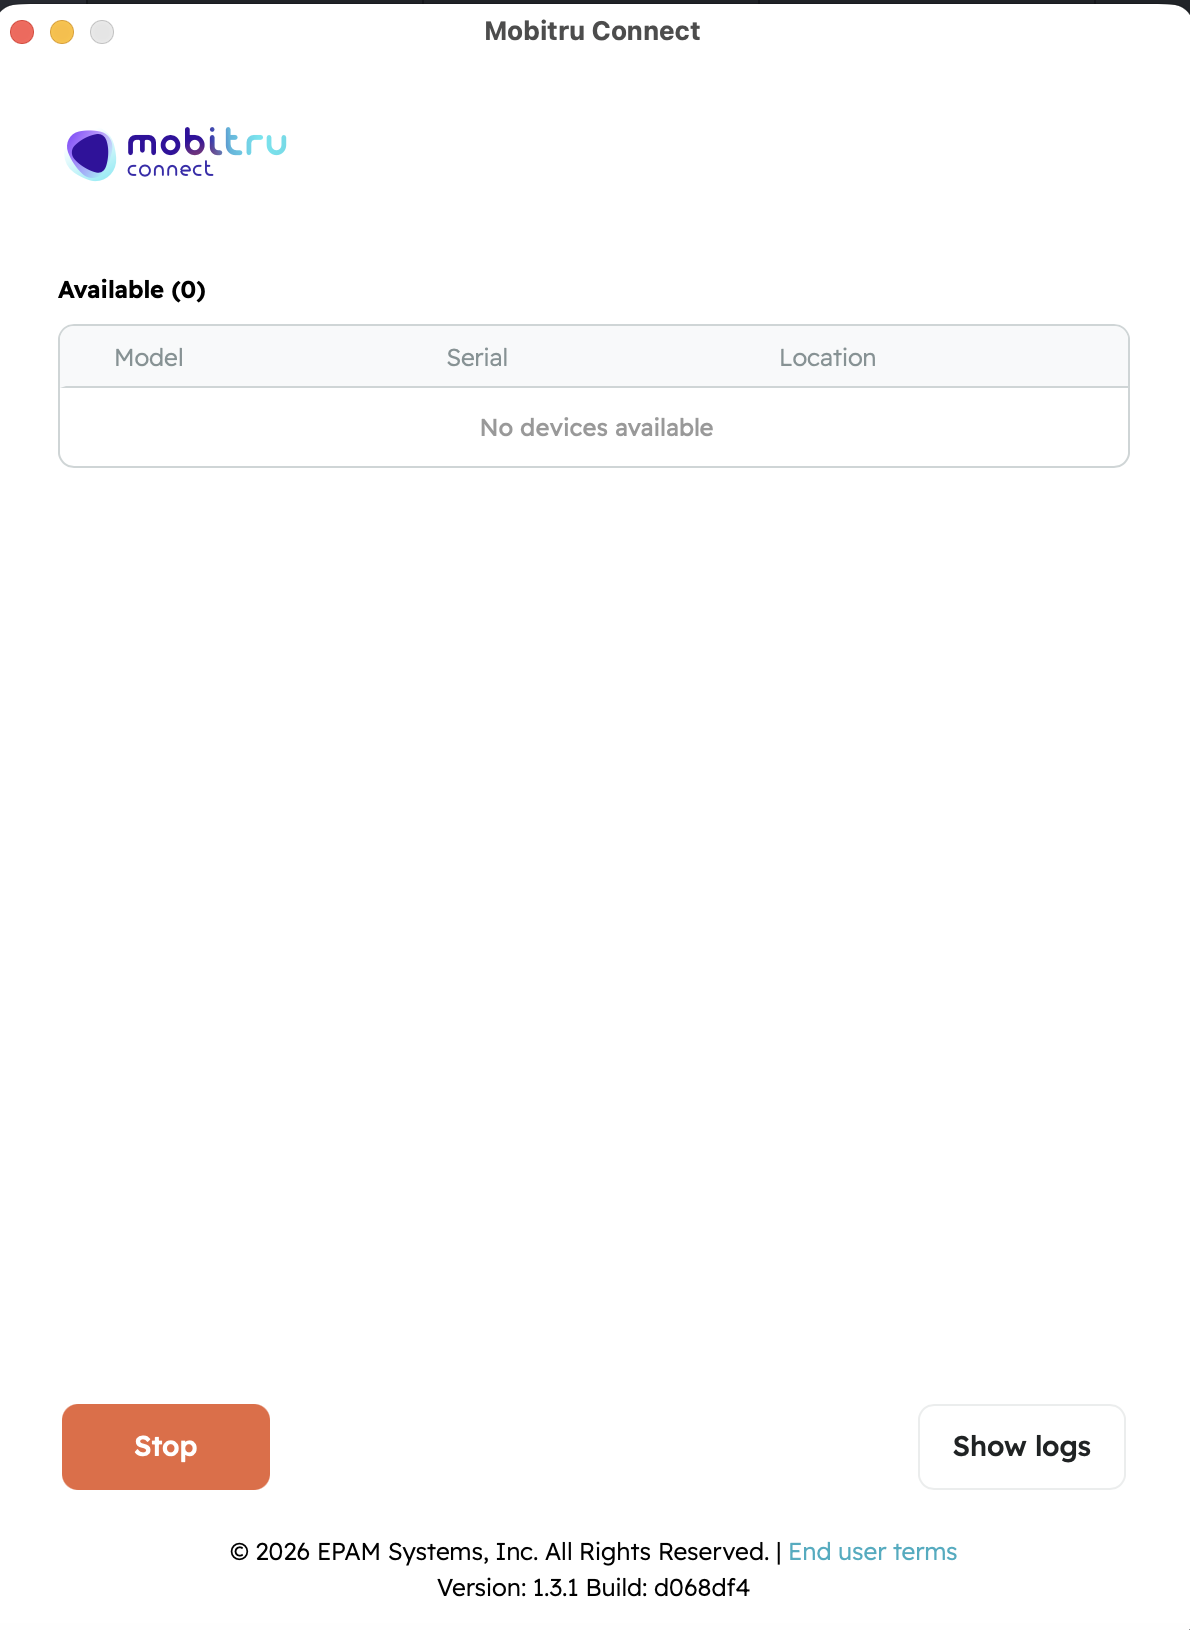
- Go to the Mobitru platform and start a Device session
- Wait for the Device to appear in the Mobitru Connect:

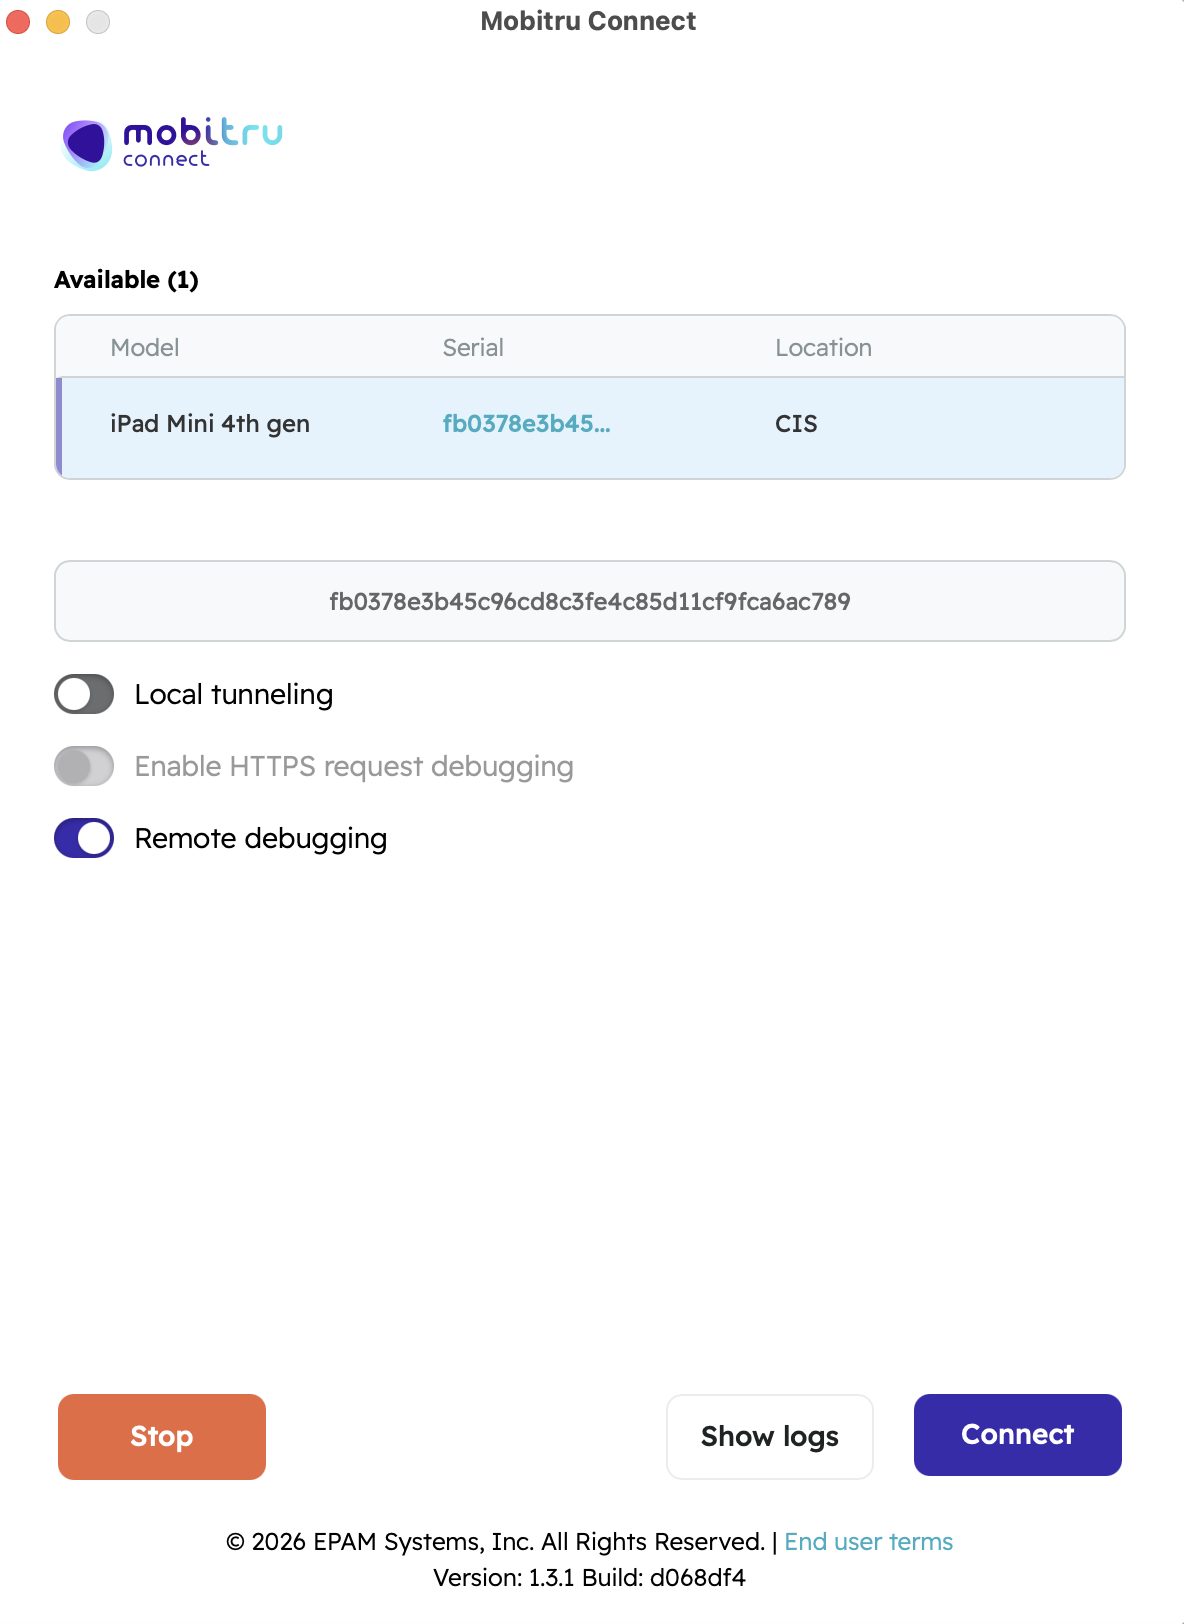
- Click on the Device in the List and check the Remote debugging toggle:
- For iOS debugging only: click the Connect button to start downloading debug symbols.
Debug symbols will be downloaded for every iOS device you use for the first time. If you have downloaded the symbols for a device previously, this screen will be skipped and you should navigate to the next step. When downloading finishes, close the modal that the device is not taken in the session, and proceed to the next step.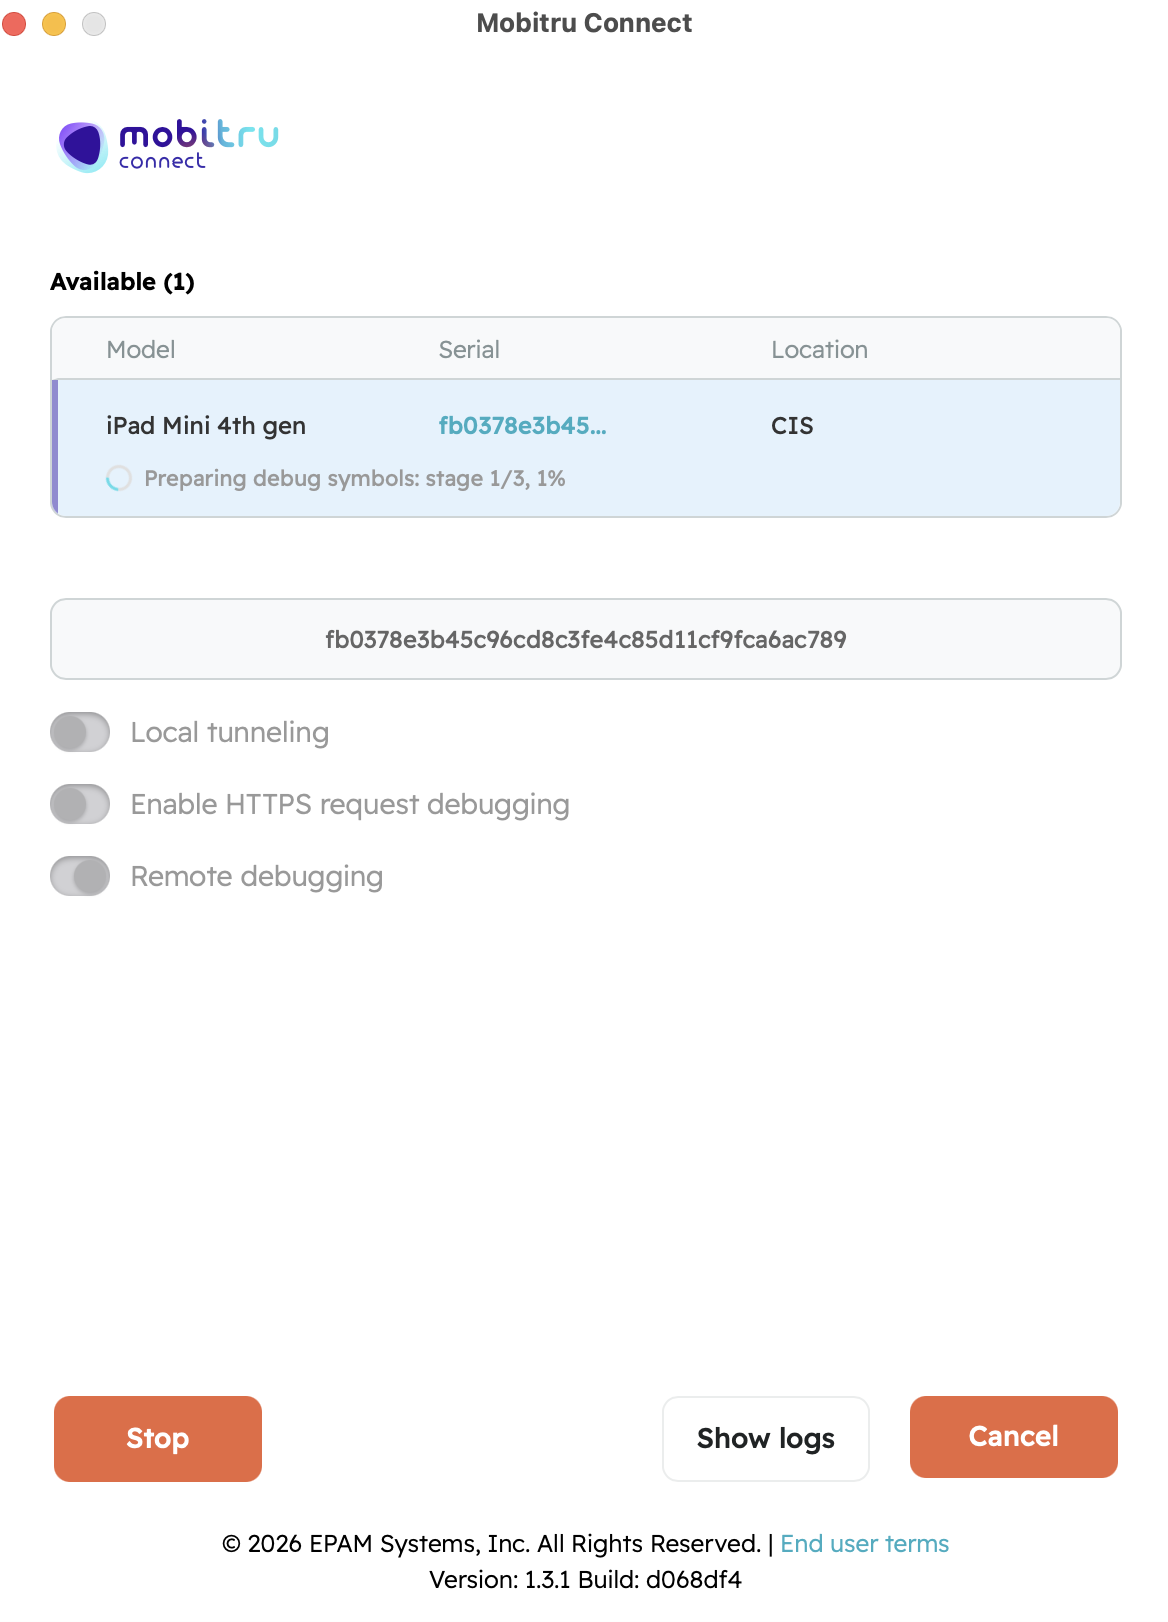
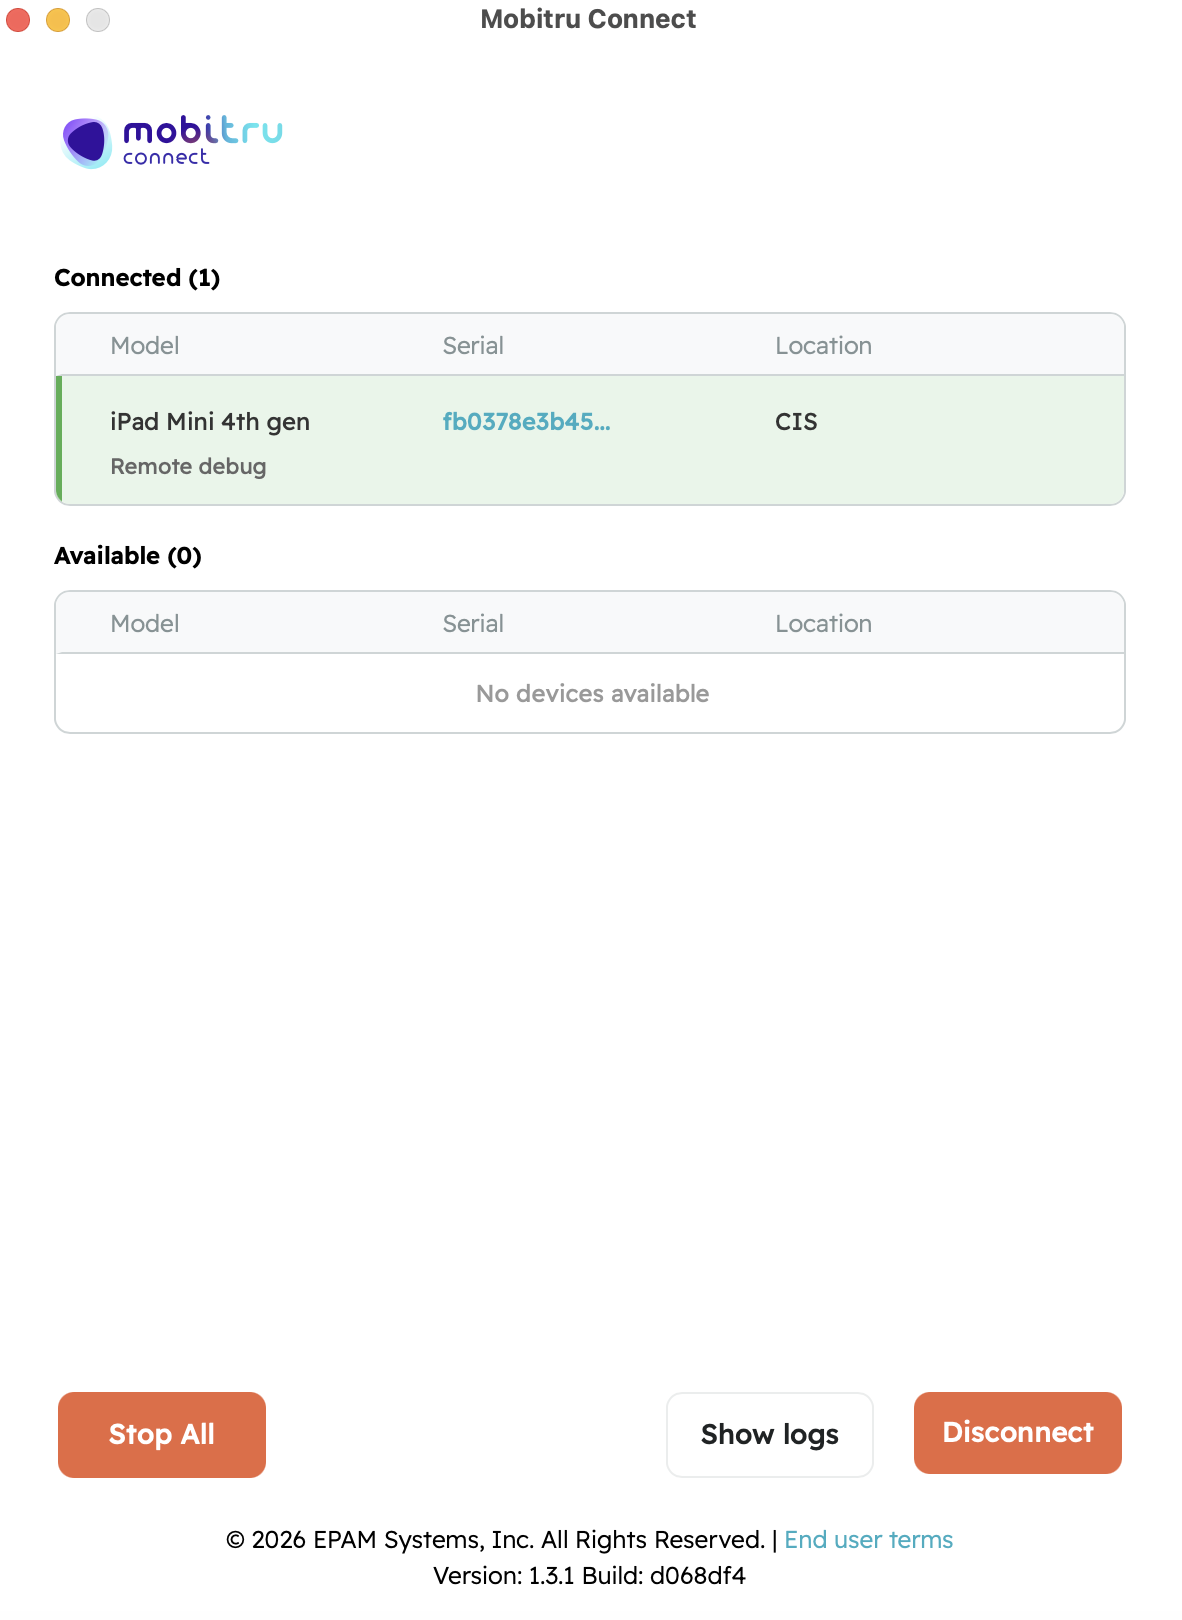
- Wait for the Remote Debug to be activated:
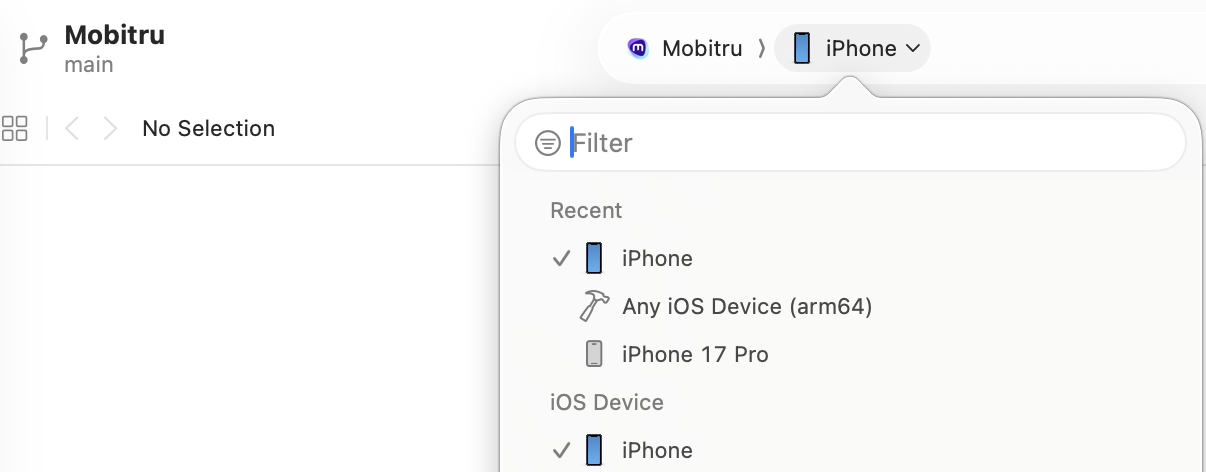
- Open your IDE.
- Check the list of devices.
You can find more information about remote debugging in dedicated articles: native iOS, native Android, Flutter, and React Native.