Remote debugging from Android Studio
General information
Android Studio is the official IDE for Android OS, and it has the Device Manager, where you can select a Device to build and install your Application or run Espresso tests. Mobitru Connect tool allows starting a connection to a real Device, accessible in the Device Manager and available for performing any allowed operation.
How to start
To use the real Device in the Android Studio, follow the steps:
- Install the Android Studio and all related tools.
More details can be found here. - Start a remote debug Session using the following instruction.
- You can find an example of a Project with an Android Demo app and Espresso tests here.
Build and install an Application
To build and install your Application in the Android Studio, follow the steps:
- Select the app Run Configuration:
- Select the connected device in the List of available devices:

- Start running of the Configuration:

- Wait for the Application will be assembled and installed on the Device:
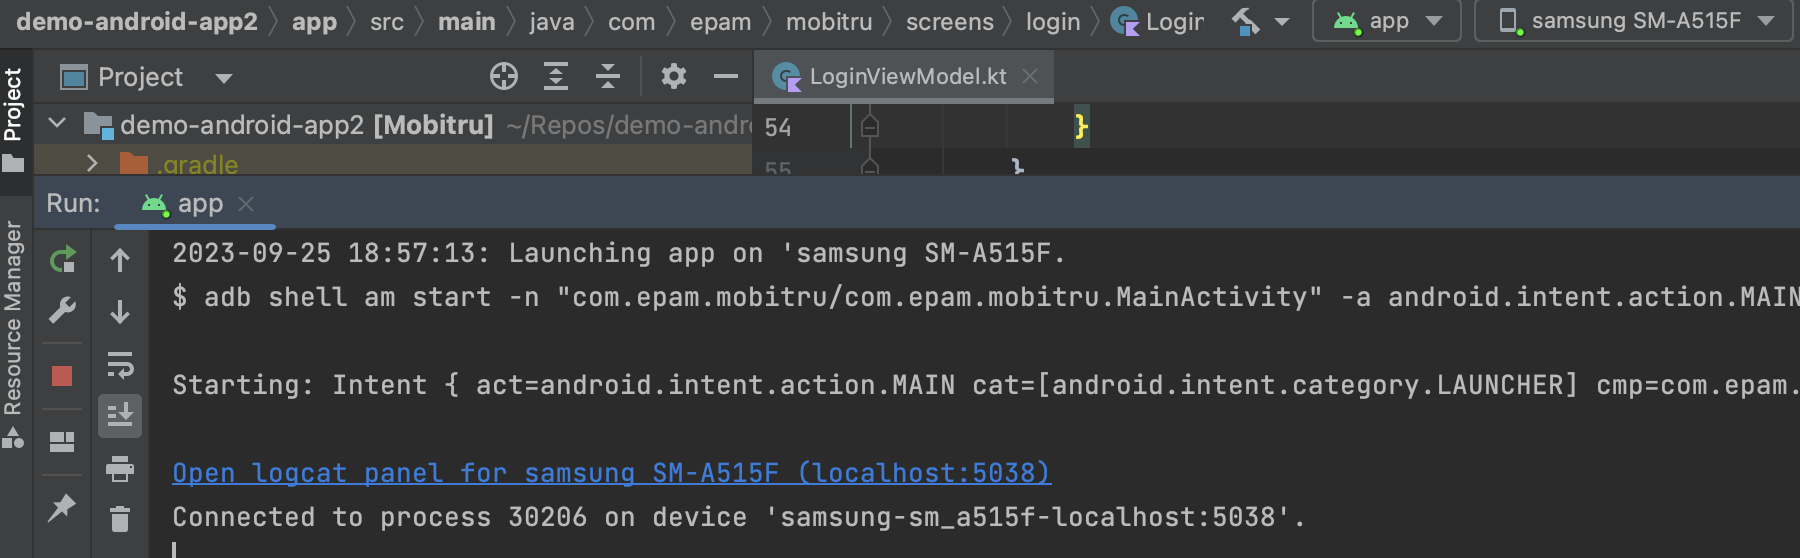
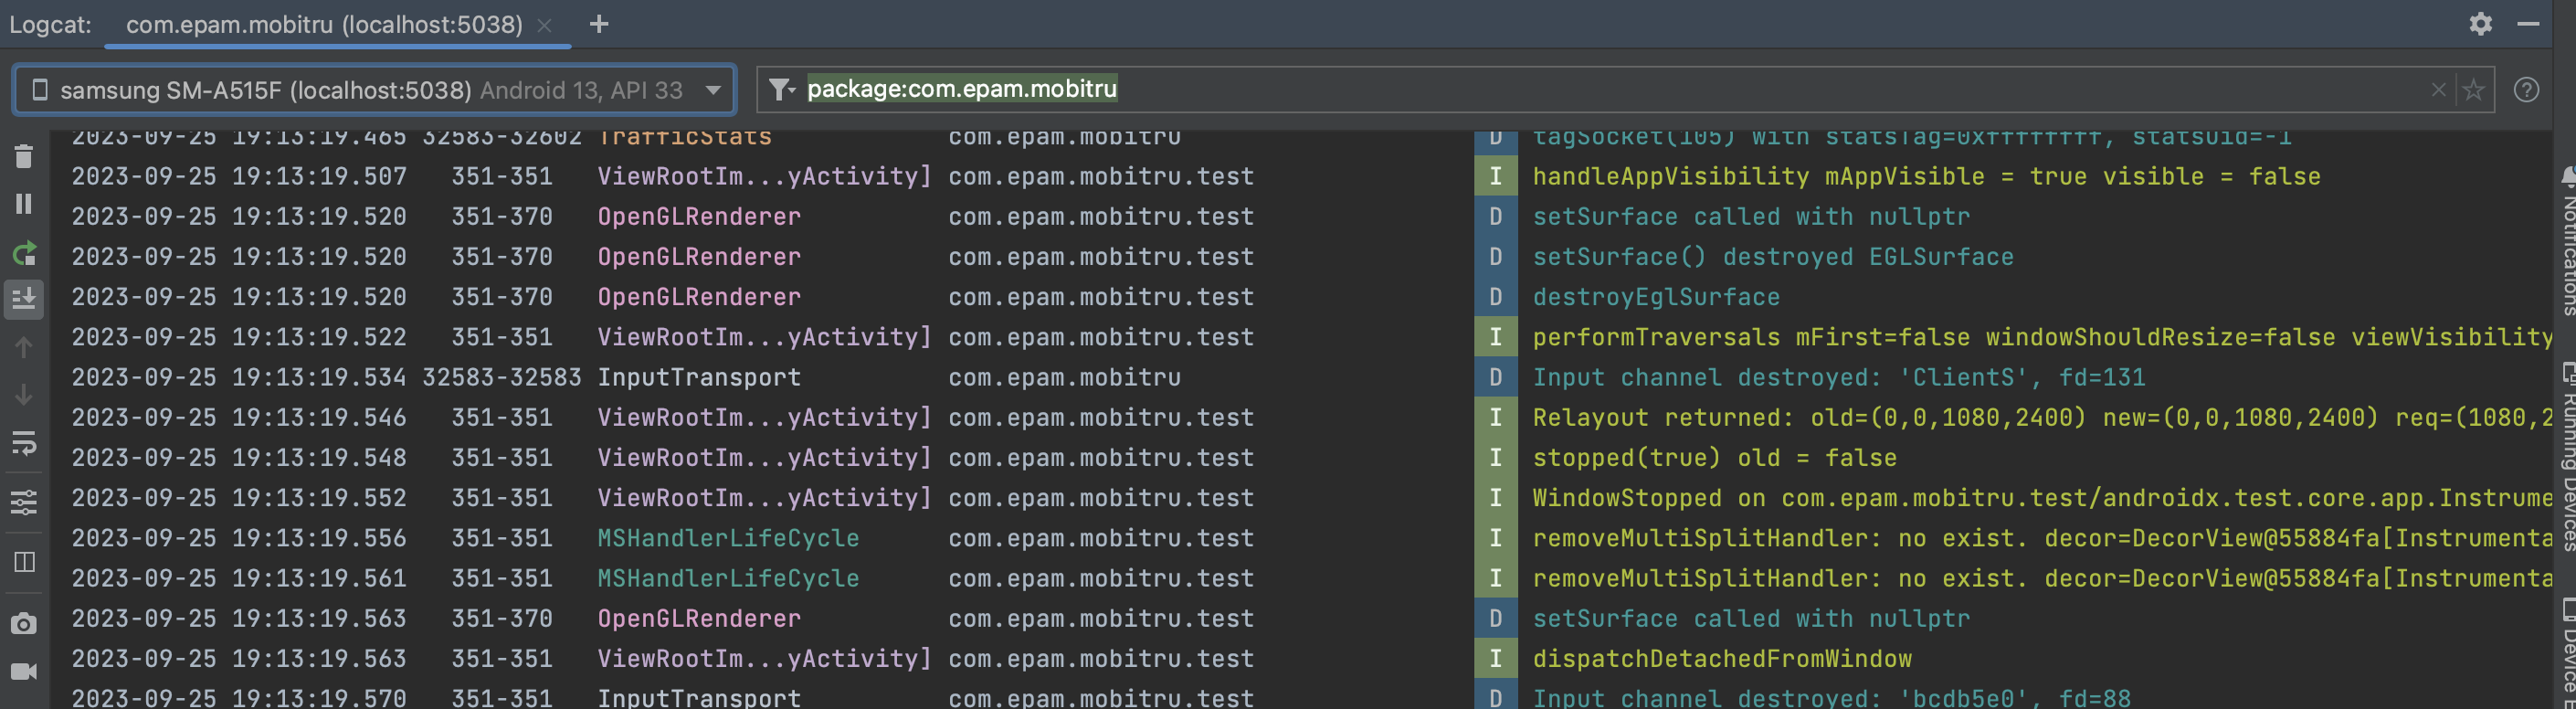
- The Log capturing will be also available:

Run Tests
To run Espresso tests for your Application in the Android Studio, follow the steps:
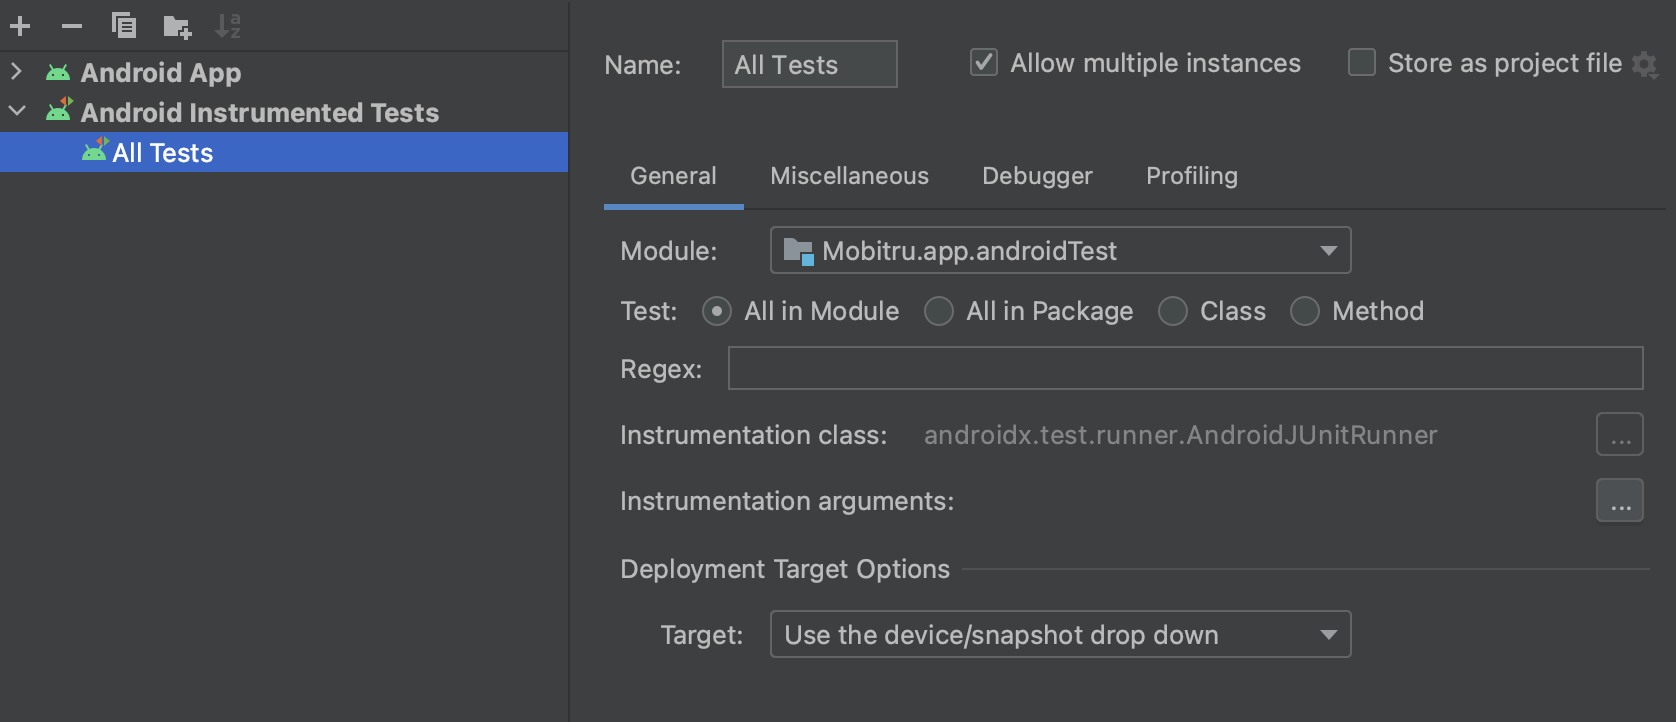
- Add the Android Instrumented Tests Run Configuration:
- Select the connected device in the List of available devices:
- Start running of the Configuration:
- Wait for the Application will be assembled and installed on the Device:

- Then the Test Execution will be started:

- The Log capturing will be started automatically:
Debug
To debug your Application in the Android Studio, follow the steps:
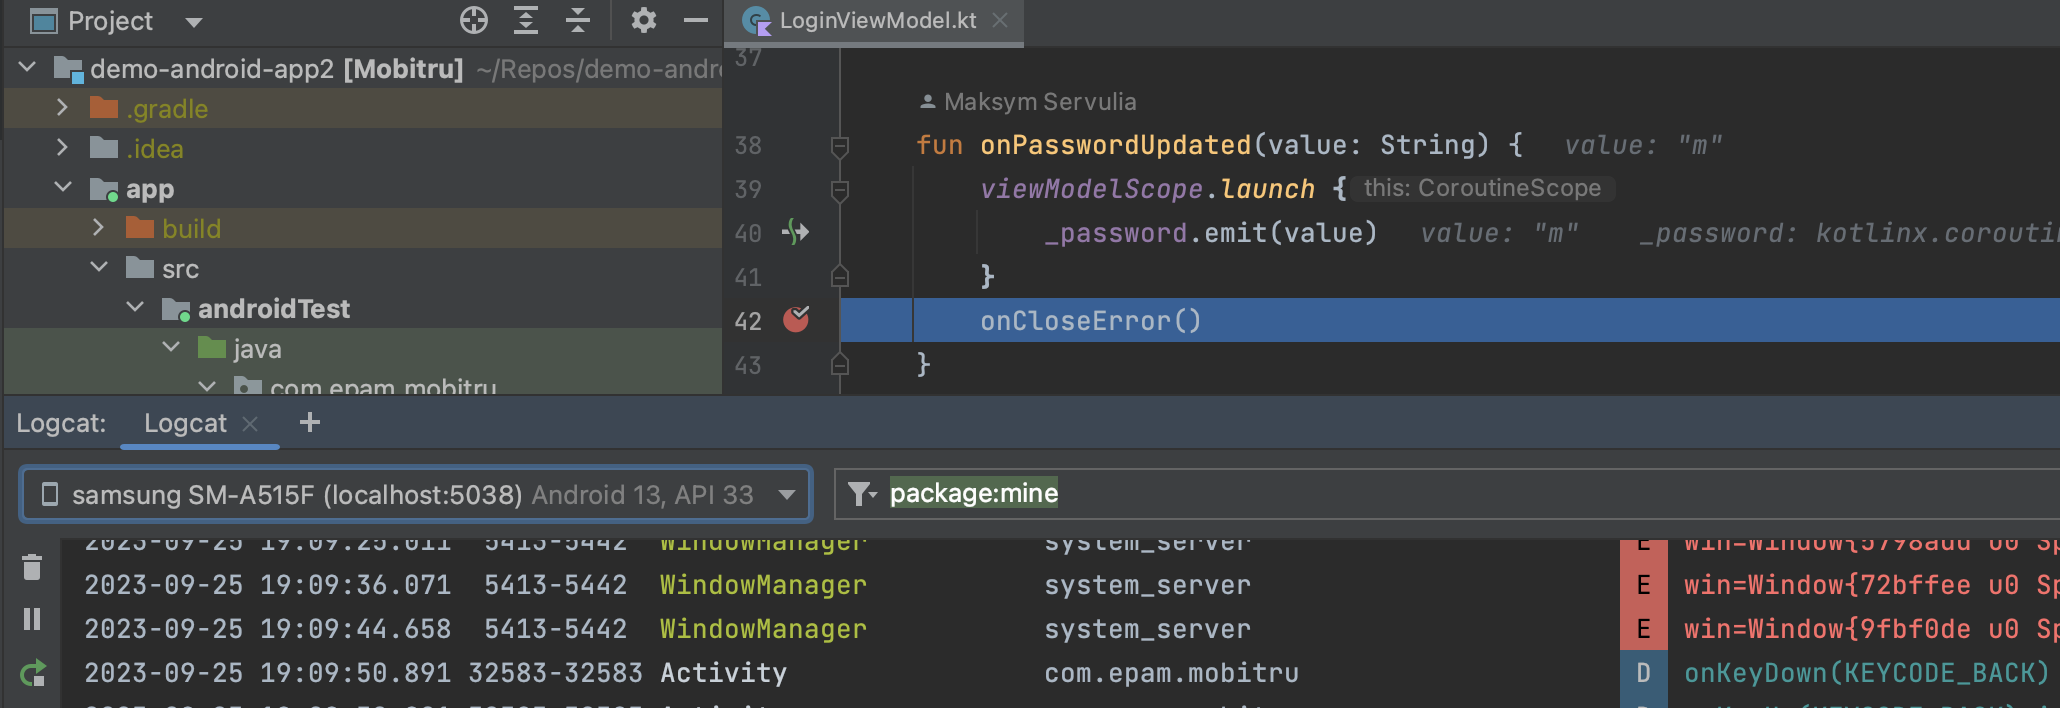
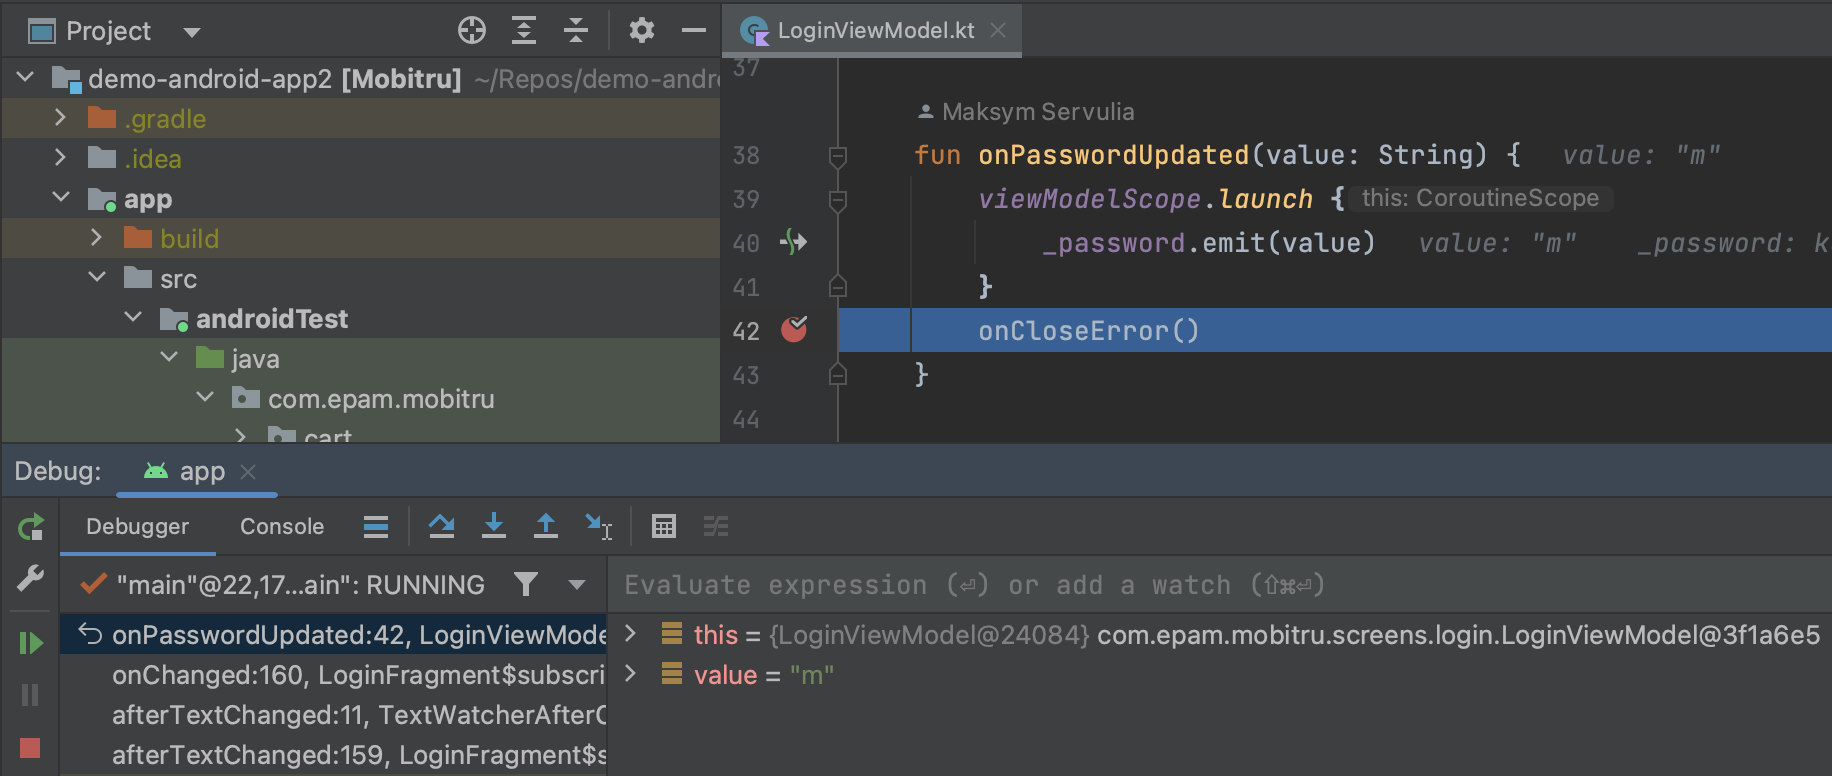
- Make a break point in the Code:

- Select the app Run Configuration:
- Select the connected device in the List of available devices:
- Start debugging of the Configuration:

- Wait for the Application will be assembled and installed on the Device:

- Then the App execution will be stopped on added point after performing appropriate action:
- The Log capturing will be started automatically: